Prerendering, Blender to Sega Genesis
For my second Sega Genesis game, I wanted to try out prerendered 3D art, instead of trying to do pixel art by hand. I wanted this so I could achieve an angled overhead view for a driving game, and because I'm more comfortable working with 3D content creation tools than 2D.
My goal today was to build out a pipeline that's relatively repeatable. I still want to shrink the number of manual steps here, so I can get content in more quickly, but I'm reasonable happy with where I got to today.
I've been working on modeling my own car in Blender, but it's slow going, so I grabbed something off Turbosquid today to speed myself up, I started with https://www.turbosquid.com/3d-models/muscle-car-pack-3d-model-1605999
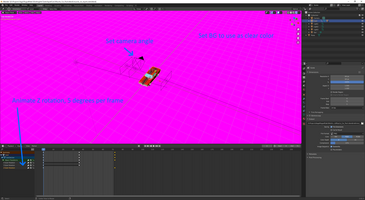
Next, I loaded this in Blender. I cleared out the other cars. I set up the camera at an angle I wanted. I knew that I needed a color to use as the transparency color, and magenta is normally a good choice for that, so I setup a background plane.
Because I'm not actually animating this vehicle yet, I decided to use the animation system to generate the frames. I set a start and stop frame at 0 and 360, and I wanted 5 degrees per frame, so I set the length at 72 frames. I set interpolation at linear, so it would be 5 degrees per frame.
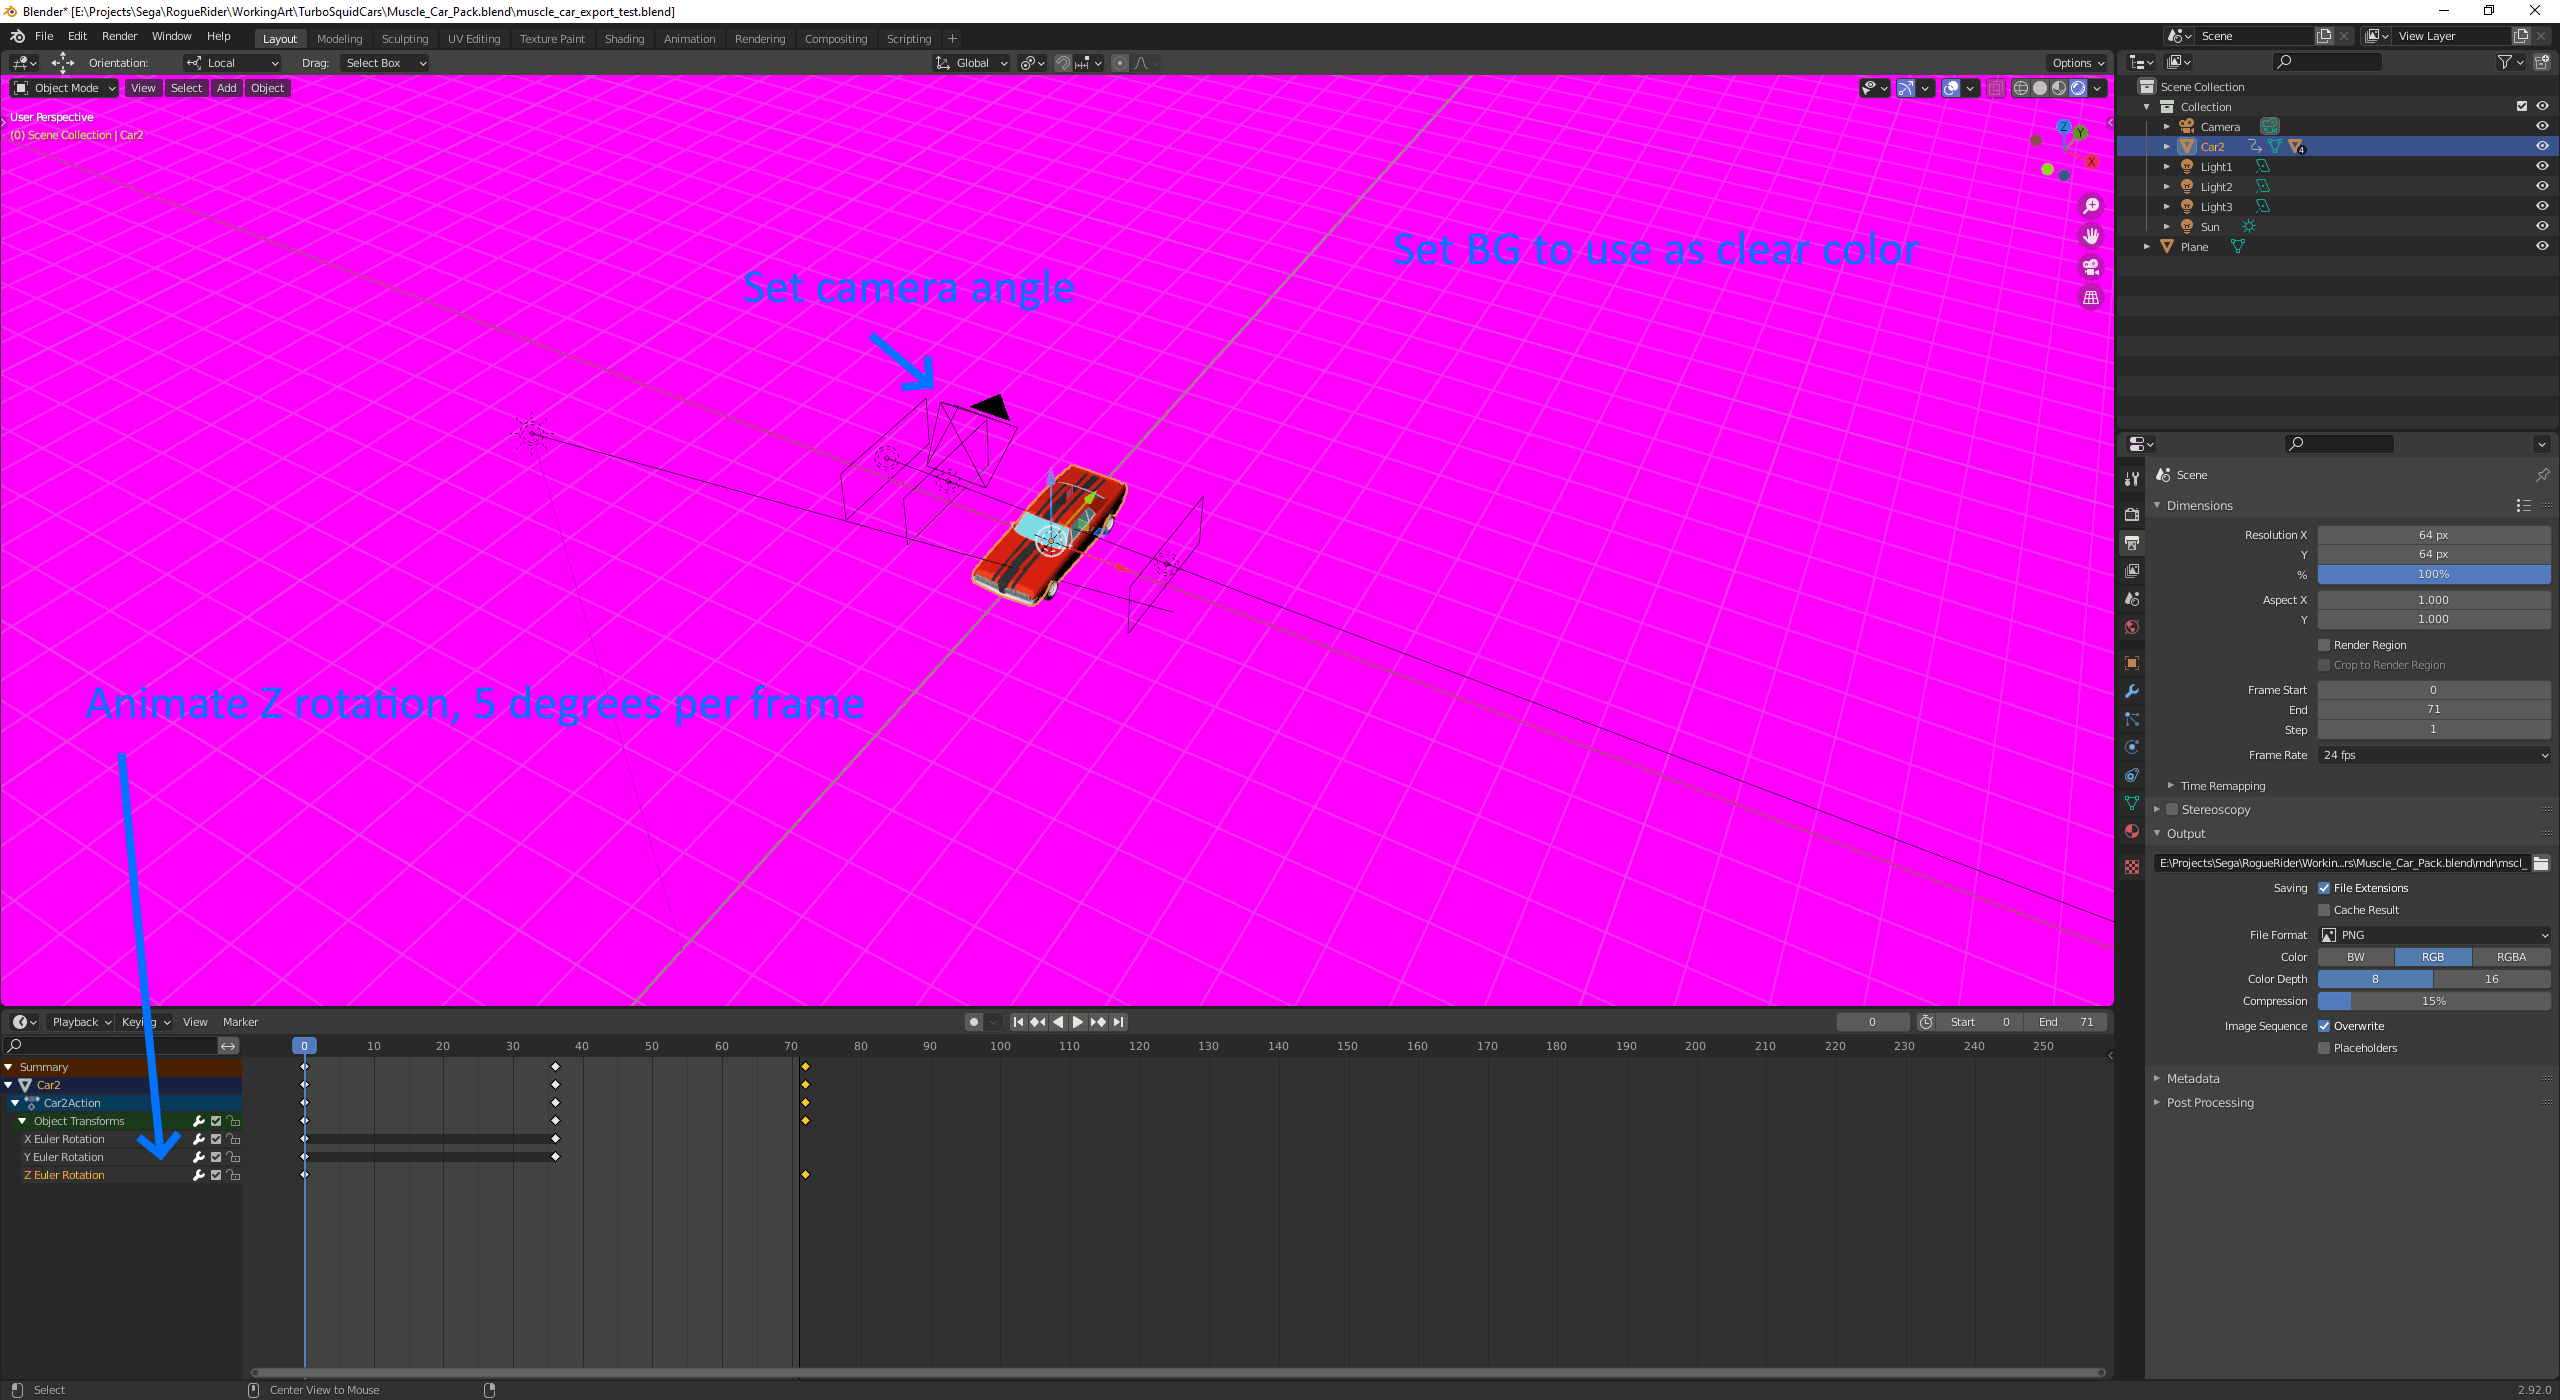
I set up my export to render at a higher resolution than I was planning to use, so I could better manage the background color bleeding over a bit. I rendered this animation out to 1 image per frame.
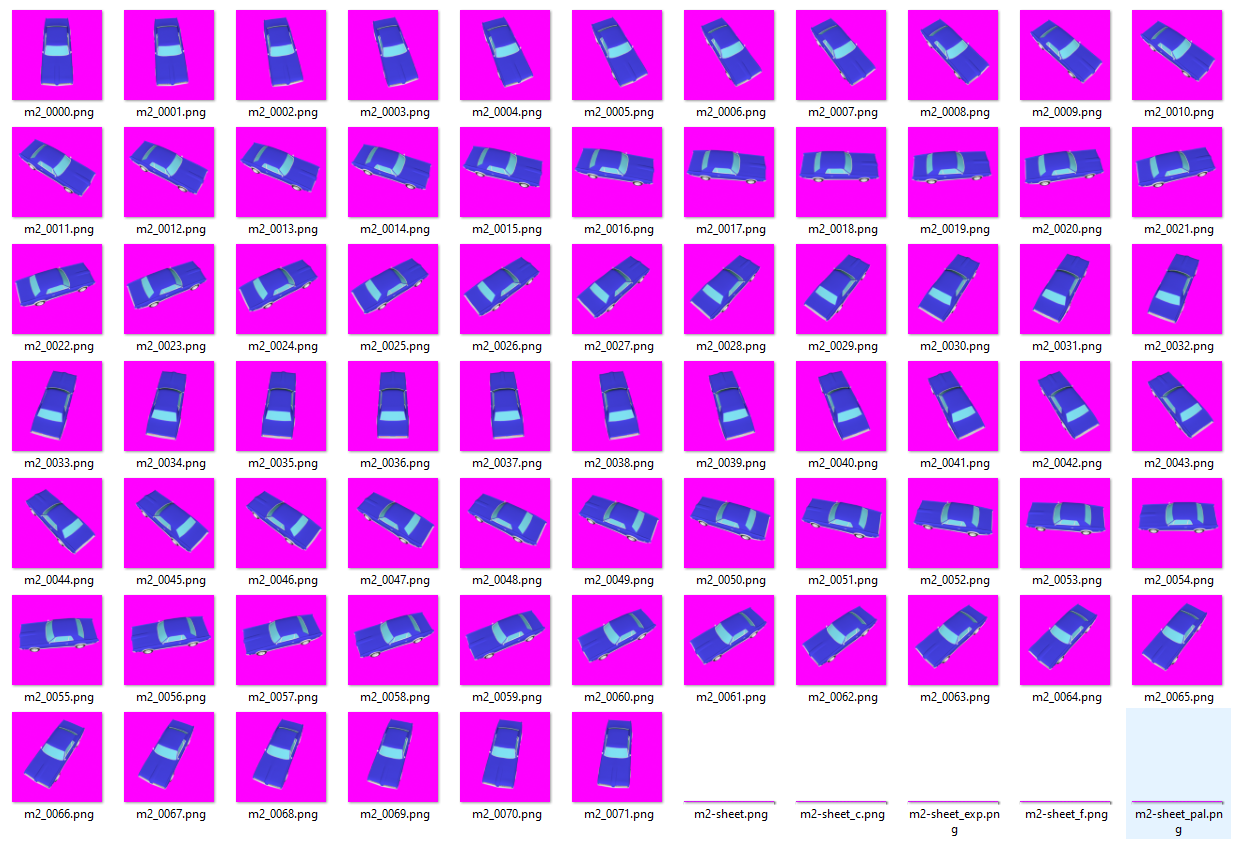
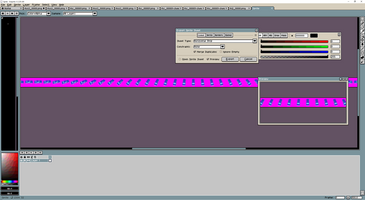
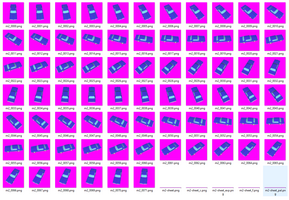
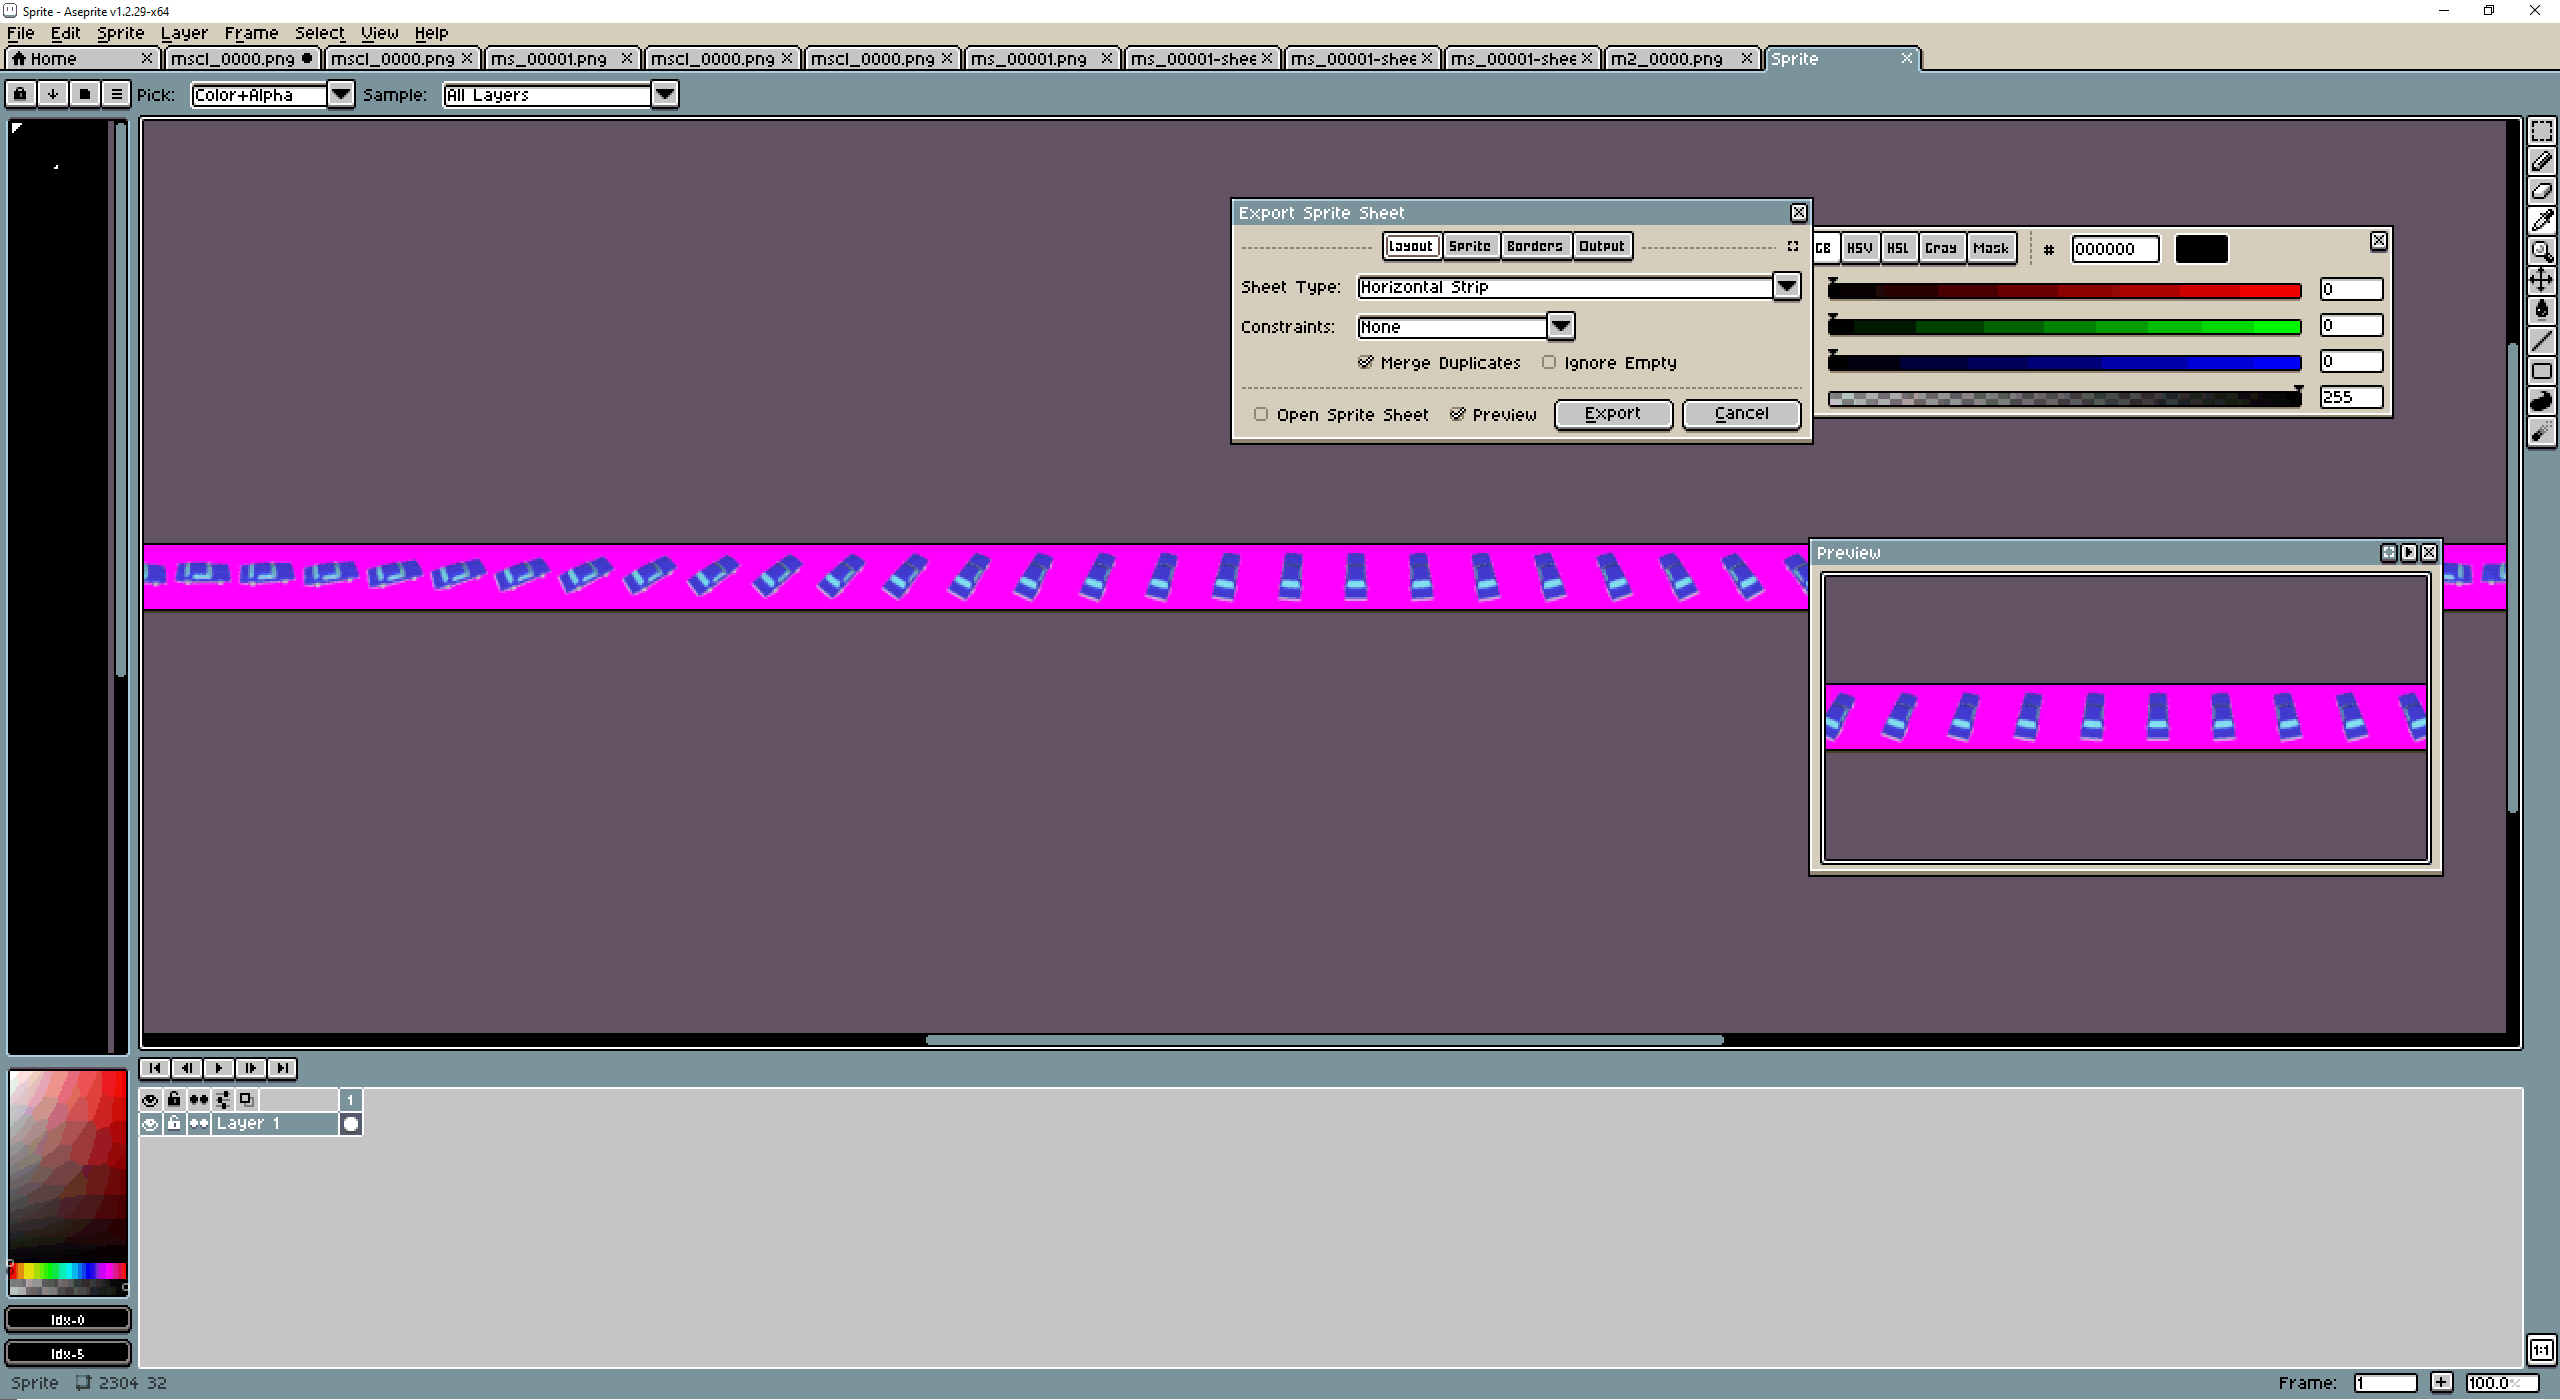
Next, I loaded the first image in Aseprite. Aseprite recognized that it was an animation based on the other files in the folder, and loaded it up like so. I exported it out as a sprite sheet, which matches the easiest way I've found to get animations into SGDK.
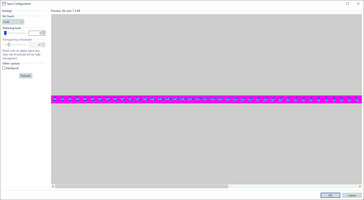
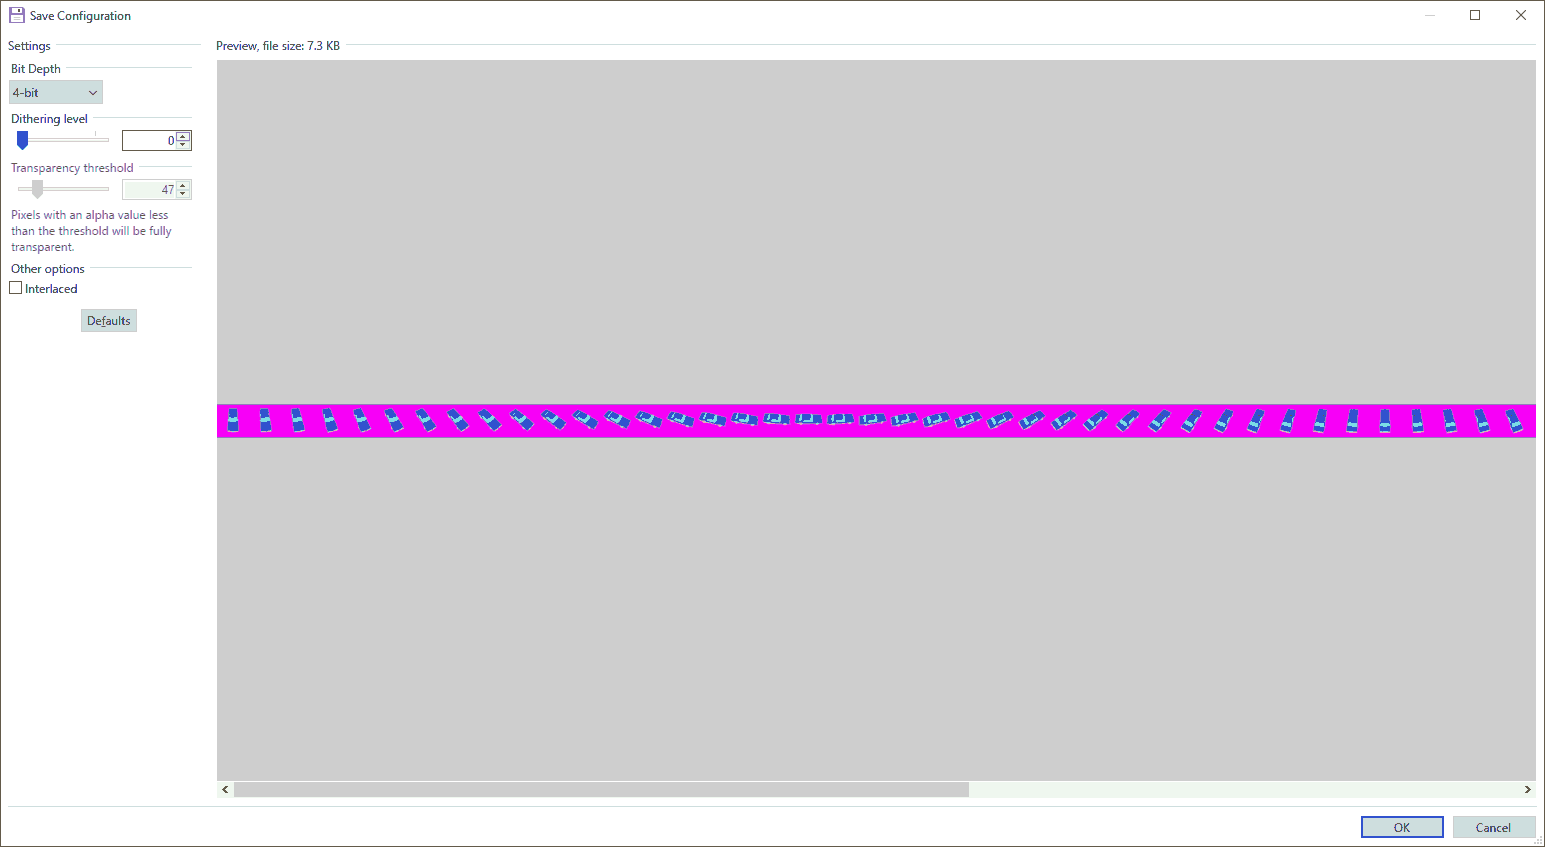
After that, I wanted to get the color count down to something manageable. I also wanted to resize it to the height I'm using for sprites on the Genesis, 32 pixels tall. I loaded the image into Paint.net, and resized it. I tried to clean up the pixels a bit, I was getting some pinks that were nearly but not exactly my transparency color. Finally, I saved it out as a 4 bit PNG, so I would have a limited number of colors.
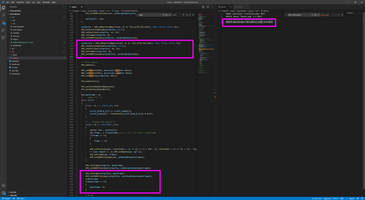
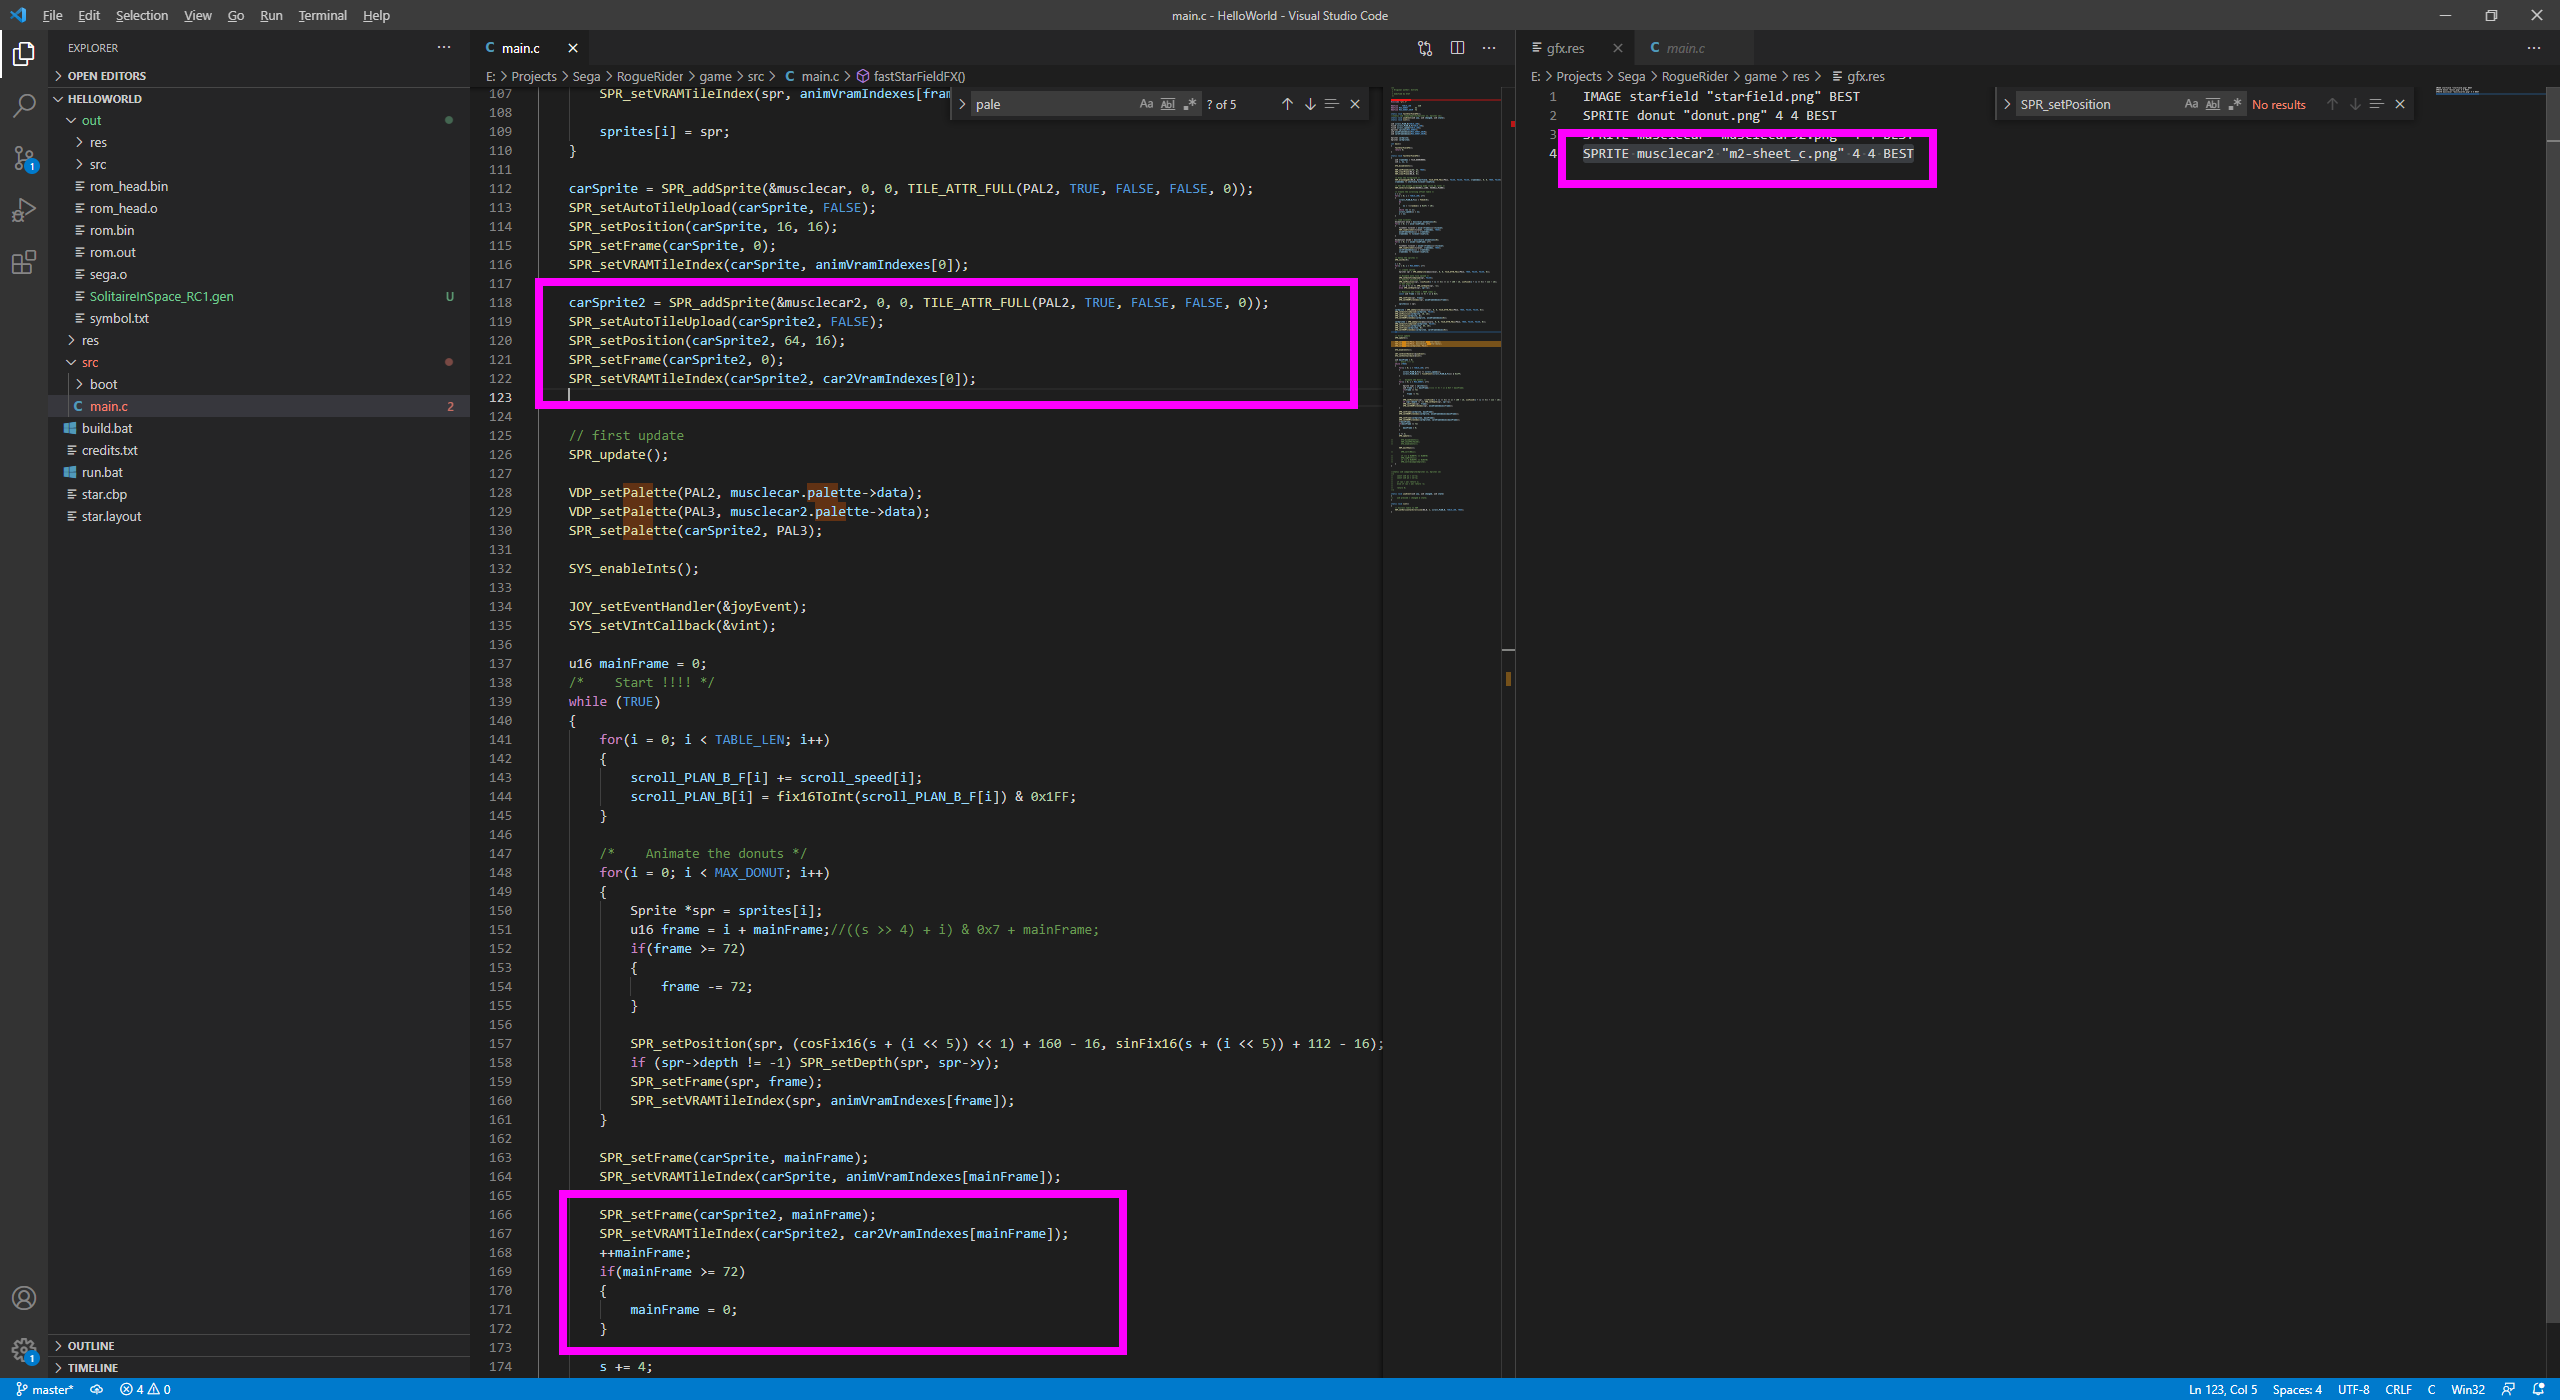
After that, I needed to load it in SGDK. I'm using the donut sample as a starting point, because it's an animated, spinning sprite. I added the image to my gfx.res file, created a sprite object for this car, loaded it, and stepped the animation every frame.
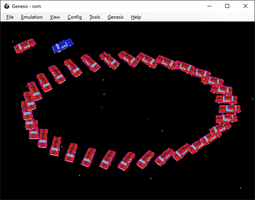
I built and loaded the rom into a Genesis emulator, which gave me a spinning car
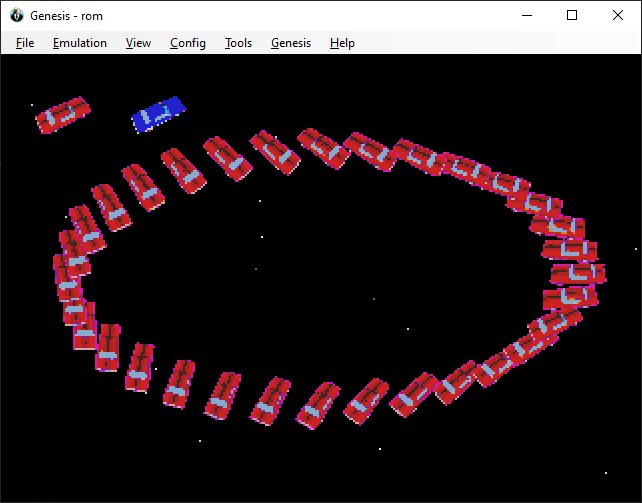
You can see it in action here
At some point I might want to adjust this workflow to handle actual animations. At that point, I'll probably no longer rotate via animation and instead rotate through a Python script in Blender, and have the animation track itself. One of the reasons I chose vehicles here, is I can probably get away with no actual animation on the cars, or some minimal animations like a palette swap for spinning tires, and make use of visual effects that spawn behind the car to sell the illusion of motion.Files
Get Redline Reaver
Redline Reaver
Sega Genesis run based car combat game
| Status | Prototype |
| Author | JoeJoeJoeJoe |
| Genre | Racing |
| Tags | Homebrew, Roguelike, Roguelite, Sega Genesis, sgdk |
More posts
- Five Minute Level CreationDec 13, 2022
- Cat TrackFeb 01, 2022
- Track Editor Part 3Jan 30, 2022
- Track Editor part 2Jan 29, 2022
- Track EditorJan 28, 2022
Comments
Log in with itch.io to leave a comment.
if you use eevee and set render tab's samples to 1 you won't get that color bleeding from the magenta that's meant to be culled out.